

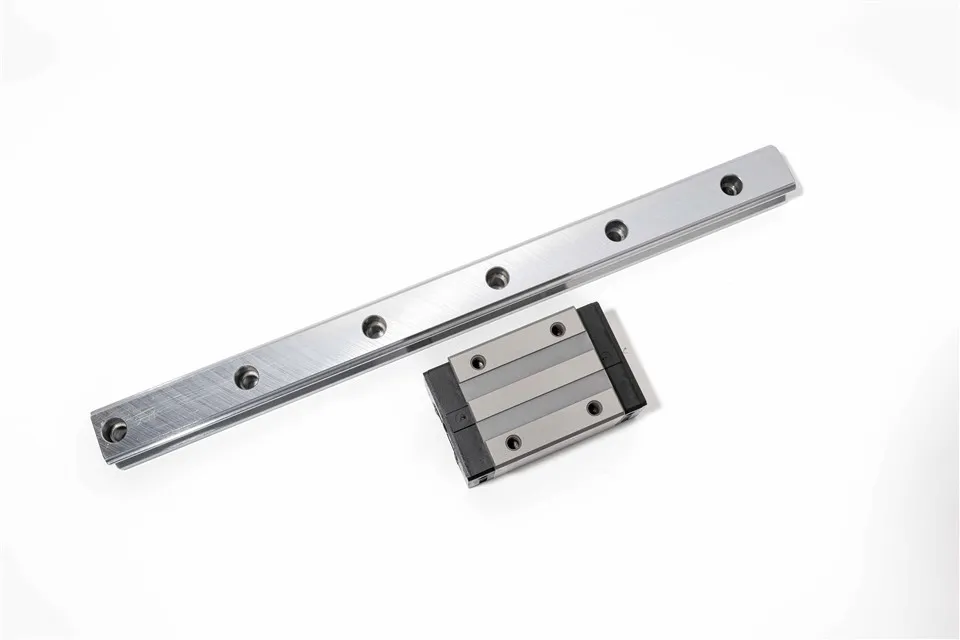
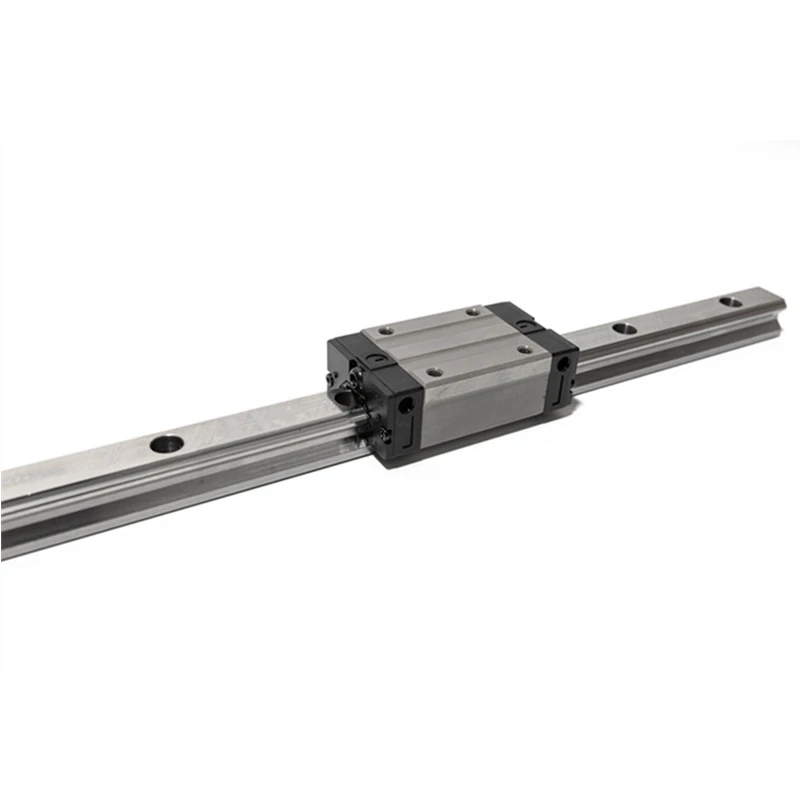
Hey there! As a supplier of Square Linear Guides, I've seen firsthand how crucial it is to ensure the levelness of these guides during installation. A misaligned guide can lead to a whole host of problems, from reduced performance and increased wear and tear to costly downtime. So, in this blog post, I'm going to share some tips and tricks on how to make sure your square linear guides are installed perfectly level.
Why Levelness Matters
Before we dive into the installation process, let's take a quick look at why levelness is so important. Square linear guides are designed to provide smooth, precise motion in a linear direction. When they're installed correctly, they can handle heavy loads and high speeds with ease. However, if they're not level, the load distribution becomes uneven, which can cause premature wear on the guide rails and sliders. This can lead to increased friction, reduced accuracy, and even system failure.
In addition to affecting the performance and lifespan of your linear guides, poor levelness can also have a negative impact on the overall quality of your products. If your machinery is not operating smoothly, it can result in inconsistent results, which can lead to customer dissatisfaction and lost business. So, taking the time to ensure proper levelness during installation is definitely worth the effort.
Pre-Installation Preparation
The first step in ensuring the levelness of your square linear guides is to prepare the installation surface. This involves cleaning the surface thoroughly to remove any dirt, debris, or oil that could interfere with the installation process. You should also inspect the surface for any damage or irregularities, such as cracks or bumps, and repair them as necessary.
Once the surface is clean and free of defects, you'll need to measure its flatness using a precision level or a straightedge. This will help you identify any high or low spots that need to be corrected before installing the guides. If the surface is not flat within the specified tolerance, you may need to use shims or other leveling devices to adjust it.
Installation Process
Now that the installation surface is prepared, it's time to install the square linear guides. Here are the steps you should follow:
- Position the Guides: Start by placing the guide rails on the installation surface in the desired location. Make sure they are aligned parallel to each other and to the direction of motion. You can use a straightedge or a laser alignment tool to ensure accurate positioning.
- Secure the Guides: Once the guides are positioned correctly, use the appropriate mounting bolts or screws to secure them to the installation surface. Make sure the bolts are tightened evenly to prevent any distortion of the guide rails.
- Check the Levelness: After the guides are secured, use a precision level to check their levelness. Place the level on the guide rails at several points along their length and adjust the shims or leveling devices as needed to achieve the desired levelness. You should aim for a levelness tolerance of no more than a few thousandths of an inch per foot.
- Install the Sliders: Once the guide rails are level, it's time to install the sliders. Carefully place the sliders on the guide rails and align them with the mounting holes. Use the appropriate mounting bolts or screws to secure the sliders to the guide rails.
- Test the System: After the sliders are installed, test the system to make sure it's operating smoothly. Move the sliders back and forth along the guide rails and check for any signs of binding or uneven movement. If you notice any problems, you may need to adjust the levelness or alignment of the guides.
Tips and Tricks
Here are some additional tips and tricks to help you ensure the levelness of your square linear guides during installation:
- Use High-Quality Tools: Investing in high-quality tools, such as precision levels, straightedges, and laser alignment tools, can make a big difference in the accuracy of your installation. These tools are designed to provide precise measurements and help you achieve the desired levelness.
- Follow the Manufacturer's Instructions: Always follow the manufacturer's instructions when installing square linear guides. They will provide specific guidelines on how to prepare the installation surface, position the guides, and secure them properly.
- Take Your Time: Installing square linear guides is a precise process that requires patience and attention to detail. Don't rush through the installation process, and take the time to double-check your work at each step.
- Get Professional Help: If you're not confident in your ability to install square linear guides correctly, consider hiring a professional installer. They have the experience and expertise to ensure that the guides are installed perfectly level and that the system is operating smoothly.
Conclusion
Ensuring the levelness of square linear guides during installation is essential for achieving optimal performance and longevity. By following the tips and tricks outlined in this blog post, you can ensure that your guides are installed correctly and that your system is operating smoothly. Remember, taking the time to do it right the first time will save you time, money, and headaches in the long run.
If you're in the market for high-quality square linear guides, we've got you covered. Check out our 1500mm Linear Rail, Eg Slider Oil Box, and HG Series Linear Guideways. We offer a wide range of products to meet your specific needs and budget.
If you have any questions or would like to discuss your requirements further, please don't hesitate to contact us. We're here to help you find the right solution for your application.
References
- "Linear Guide Installation and Maintenance Guide," Manufacturer's Manual
- "Precision Leveling Techniques for Machine Tools," Industrial Machinery Handbook